App Management
Steps to Create an Application
If you want to create a new application, follow the steps below:
-
Navigate to the Application Configuration Page
- Go to the "Settings -> Agent & AI Apps -> Application Configuration" page.
-
Click the "Add" Button
- On the right side of the page, click the "Add" button to start creating a new application.
-
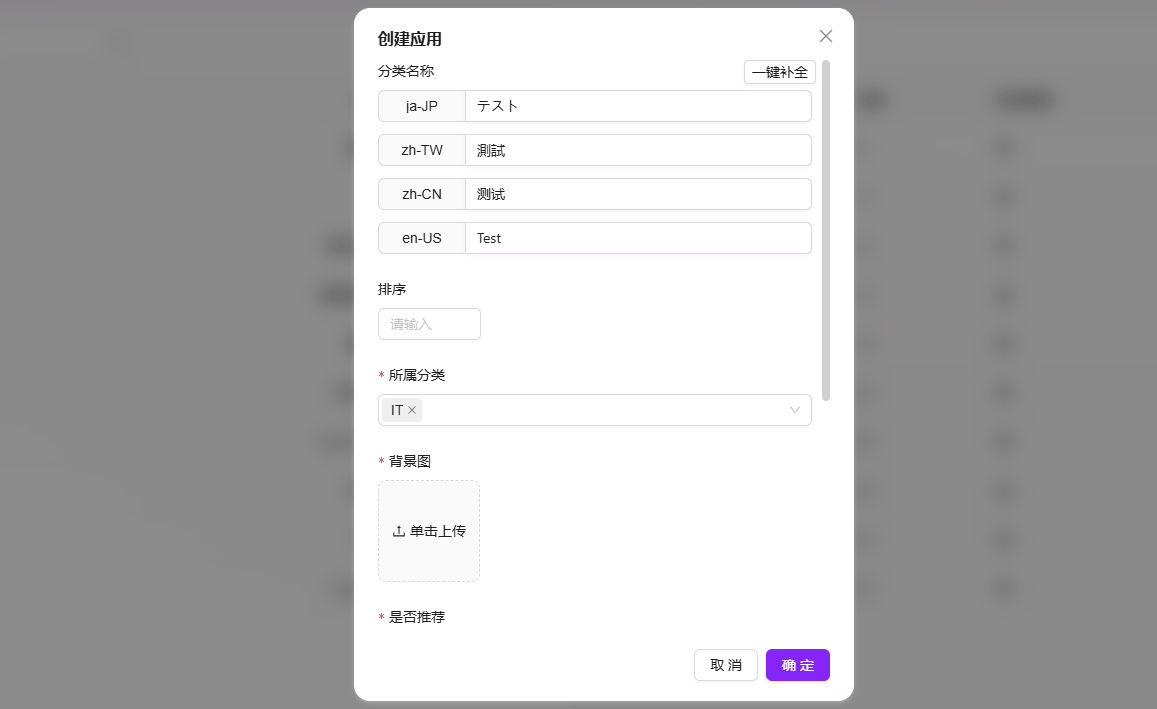
Enter the Application Name
- Assign a unique name to the application. You can use the "Auto-complete" feature to supplement the application name in other language versions.
-
Select Application Category
- Choose the category to which the application belongs, such as "Human Resources," to help organize and classify the application appropriately.
-
Upload Application Background Image
- Upload the background image for the application. You can select a suitable image file from your local device to enhance visual appeal.
-
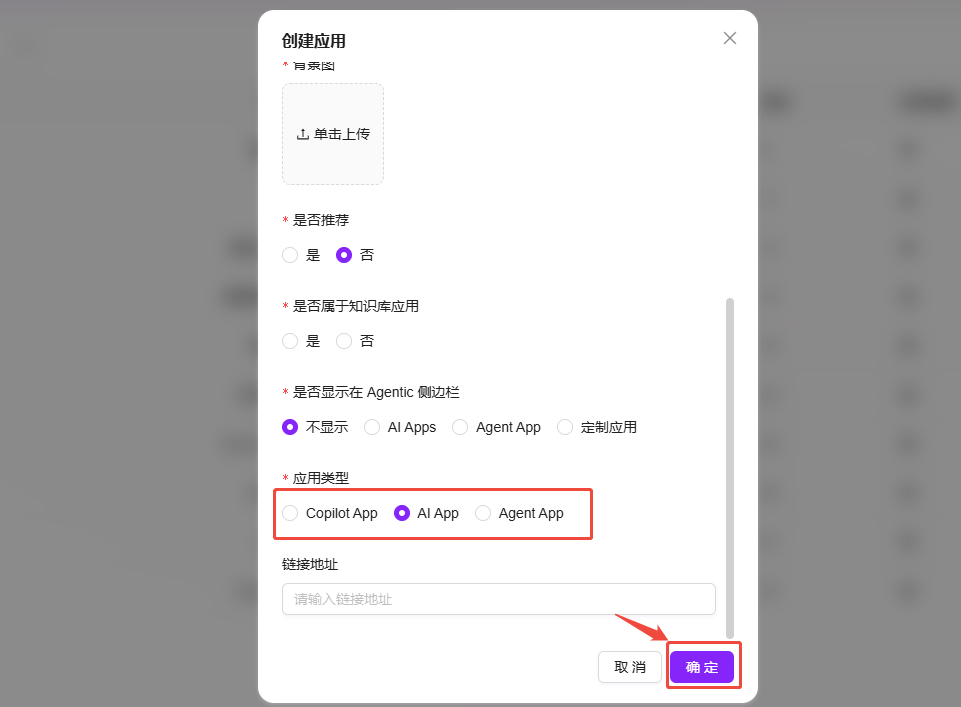
Set Recommendation Status
- Recommendation Status: If you select "Yes," this application will appear on the recommendation page for quick access by users. If you select "No," the application will need to be located within its corresponding category.
-
Specify Whether It Is a Knowledge Base Application
- Knowledge Base Application: If you select "Yes," this application will be built based on knowledge base content and used to provide related knowledge services.
-
Display in Agentic Sidebar
- Choose whether to display the application in the Agentic sidebar for quick access and operation.
-
Select Application Type
- Copilot App: This application requires an assistant ID. When users access it, they will be automatically redirected to the corresponding assistant's page.
- AI App: This application requires a link address. When users access it, they will be automatically redirected to the specified link address.
- Agent App: This application requires advanced orchestration, suitable for applications with more complex functionality and logic. (For advanced orchestration usage, please refer to: Advanced Orchestration)
-
Fill in Relevant Information and Save
- After filling in all required information, click the "Confirm" button to complete the creation.